

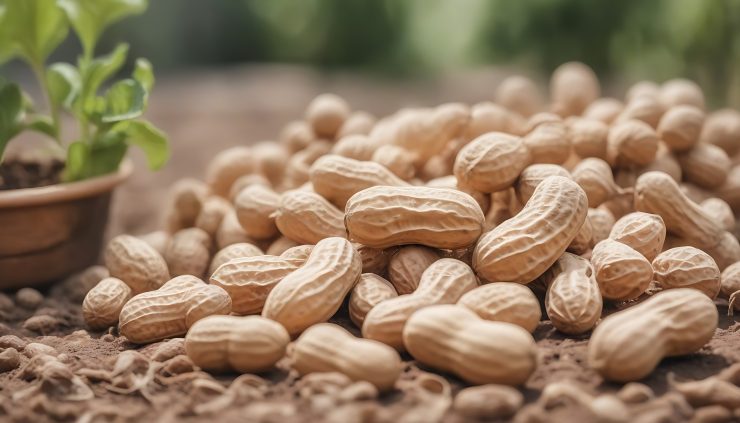
Growing your own peanuts at home might sound like an unusual gardening project, but it’s a fun and rewarding endeavor that almost anyone can try. Not only do you get to enjoy the satisfaction of growing your own snacks, but you also gain insight into the fascinating underground world of peanut plants. If you’re interested in learning how to grow peanuts at home, read on, as we guide you through the process step by step.
Materials You’ll Need:
Raw, unshelled peanuts (readily available from gardening stores or online)
Well-draining soil
A sunny spot in your garden or a large container
Organic compost
Garden tools (shovel, trowel, watering can)
Pea-sized stones or crushed shells (for ground cover)
Step-by-Step Guide to Growing Peanuts:
1.Choose a Sunny Location
Peanuts require plenty of sunlight to grow and thrive. Select a spot in your garden that receives at least 6-8 hours of direct sunlight each day. Alternatively, you can grow peanuts in a large container or pot on a sunny balcony or patio.
2.Prepare the Soil
Peanuts need well-draining, sandy soil. If your soil is heavy or clayey, consider amending it with sand to improve drainage. Alternatively, you can grow peanuts in raised beds or containers filled with a mix of well-draining potting soil and compost.
3.Plant the Peanuts
Plant the raw, unshelled peanuts about 2 inches deep in the soil, spaced roughly 4-6 inches apart. Each peanut seed will sprout into a single plant.
4.Maintain Adequate Moisture
Keep the soil consistently moist but not waterlogged. Peanuts require regular watering, especially during dry spells. Aim to keep the soil evenly moist throughout the growing season.
5.Mulch with Organic Matter
Apply a layer of organic compost as mulch around the peanut plants. This helps conserve moisture, suppress weeds, and enrich the soil.
6.Watch for Flowers
After a few weeks, your peanut plants will produce small, yellow flowers. These flowers are a sign that the peanuts are forming underground.
7.Hill the Soil
As the plants grow, hill up the soil around them to support the development of the peanut pods. This involves carefully piling soil around the base of the plant to cover the developing pegs (the stems that will produce the pods).
8.Harvest Your Peanuts
Peanuts are ready to harvest when the leaves start to turn yellow and die back. Gently dig up the entire plant and shake off excess soil. Allow the peanuts to air-dry for a few weeks.
9.Roast and Enjoy
Once your peanuts have dried, you can roast them in the oven or on a stovetop. After roasting, enjoy your homegrown peanuts as a tasty and nutritious snack.
Growing peanuts at home is an exciting project that can be enjoyed by gardeners of all levels of expertise. Whether you have a spacious garden or a small balcony, you can grow your own peanuts and savor the unique experience of harvesting and roasting your homegrown snacks. Give it a try, and you’ll discover how fun and rewarding peanut cultivation can be.
Add comment