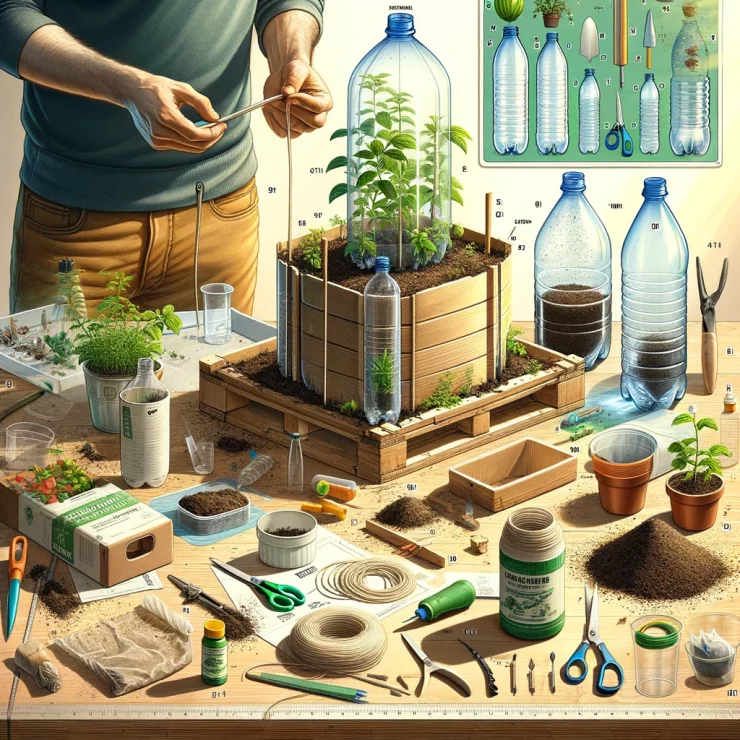
In the realm of gardening, one of the most significant challenges is ensuring consistent hydration for plants, especially during hot summers or when away on vacation. Traditional watering methods may not always suffice, leading to parched plants and diminished yields. However, there’s a solution: self-watering containers. These innovative systems provide a steady supply of moisture to plants, promoting healthier growth while reducing the need for frequent watering. In this article, we’ll guide you through the process of building your own self-watering containers, offering a cost-effective and efficient way to elevate your gardening game.
Materials Needed:
Before diving into the construction process, gather the following materials:
Plastic storage containers (preferably with lids)
PVC pipe or tubing
Drainage gravel or pebbles
Potting soil
Wicking material (such as cotton rope or felt fabric)
Water reservoir (could be a second container or a section within the same container)
Drill with drill bits
Utility knife or scissors
Step 1: Prepare the Containers
Start by selecting your plastic storage containers. These will serve as the main vessels for your self-watering system. Drill holes in the bottom of one container for drainage, ensuring excess water can escape. The other container will become the water reservoir, so no drainage holes are needed in this one.
Step 2: Create the Wicking System
Cut a piece of PVC pipe or tubing to fit the height of your containers. This will serve as the wicking mechanism, allowing water to travel from the reservoir to the soil. Next, cut a length of wicking material (cotton rope or felt fabric) and thread it through the PVC pipe. Leave enough length to reach the bottom of the soil container and extend into the water reservoir.
Step 3: Assemble the Container Layers
Place a layer of drainage gravel or pebbles at the bottom of the soil container. This helps prevent waterlogging and provides aeration for the roots. Insert the PVC wicking system into the center of the container, ensuring it reaches the bottom. Fill the container with potting soil, leaving enough space at the top for planting.
Step 4: Set Up the Water Reservoir
Place the second container (the one without drainage holes) beneath the soil container. This will act as the water reservoir. Fill it with water, making sure the bottom of the wicking material is submerged. You may opt to install a water level indicator to monitor the reservoir’s water level easily.
Step 5: Plant and Maintain
With your self-watering container assembled, it’s time to plant your desired greenery. Choose plants that thrive in containers and adjust watering needs accordingly. The self-watering system will provide moisture as needed, but it’s essential to monitor the soil moisture periodically and refill the reservoir when necessary.
Benefits of Self-Watering Containers:
Consistent Moisture: Self-watering containers ensure plants receive a consistent water supply, reducing the risk of underwatering or overwatering.
Water Efficiency: By delivering water directly to the roots, self-watering systems minimize water waste through evaporation or runoff.
Low Maintenance: Once set up, self-watering containers require minimal maintenance, making them ideal for busy individuals or those with limited gardening experience.
Improved Plant Health: Proper hydration promotes healthier plant growth, resulting in lusher foliage and higher yields.
Versatility: Self-watering containers can be used for a variety of plants, including vegetables, herbs, flowers, and ornamentals.
Building your own self-watering containers is a rewarding DIY project that offers numerous benefits for gardeners of all skill levels. With just a few materials and simple steps, you can create an efficient watering system that keeps your plants happy and hydrated throughout the growing season. Whether you’re growing herbs on a windowsill or cultivating a vegetable garden on your patio, self-watering containers are a game-changer in the world of gardening. So why wait? Get started on your self-watering journey today and watch your garden flourish like never before!


Add comment