

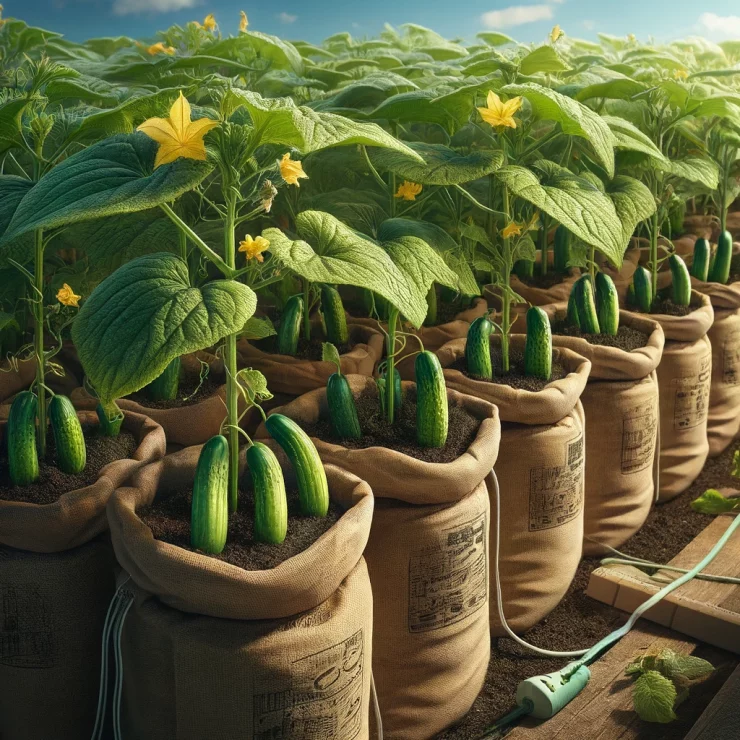
Growing cucumbers in soil bags is an innovative and space-saving method that allows gardeners with limited space or poor soil conditions to enjoy a bountiful harvest of crisp, refreshing cucumbers. Whether you have a small balcony, patio, or even just a sunny window sill, this method is accessible to anyone willing to give it a try. In this comprehensive guide, we’ll take you through the step-by-step process of growing cucumbers in soil bags, from selecting the right materials to harvesting your first crop.
Step 1: Gather Your Materials
To get started, you’ll need the following materials:
Soil bags or grow bags: Choose durable, UV-resistant bags specifically designed for gardening.
High-quality potting mix: Opt for a well-draining potting mix enriched with compost or organic matter.
Cucumber seeds or seedlings: Select a cucumber variety suited to your climate and growing conditions.
Support trellis or stakes (optional): Cucumbers are vining plants and benefit from vertical support to maximize space and airflow.
Step 2: Prepare the Soil Bags
Fill the soil bags with potting mix, leaving a few inches of space at the top to allow for watering. Gently tamp down the soil to remove any air pockets and ensure even moisture distribution.
Step 3: Planting Cucumber Seeds or Seedlings
If starting from seeds, plant them according to the instructions on the seed packet, typically 1 inch deep and spaced 6-12 inches apart. If using seedlings, carefully transplant them into the soil bags, ensuring they are positioned at the same depth as they were in their original containers.
Step 4: Watering and Care
Keep the soil consistently moist but not waterlogged, as cucumbers prefer slightly moist conditions. Water deeply and evenly, taking care not to wet the foliage to prevent fungal diseases. During hot weather, you may need to water more frequently to prevent the soil from drying out.
Step 5: Providing Support
As the cucumber plants grow, they will begin to vine and produce tendrils. If using a trellis or stakes, install them near the soil bags and gently guide the vines to climb upward. This not only saves space but also helps prevent the cucumbers from resting on the soil, reducing the risk of rot and disease.
Step 6: Fertilizing
Cucumbers are heavy feeders and benefit from regular fertilization throughout the growing season. Apply a balanced, water-soluble fertilizer every 2-3 weeks, following the manufacturer’s instructions for dilution and application.
Step 7: Pest and Disease Management
Keep an eye out for common cucumber pests such as aphids, cucumber beetles, and spider mites, and treat them promptly with organic or chemical controls as needed. Additionally, practice good sanitation by removing any fallen leaves or debris from around the soil bags to minimize the risk of disease.
Step 8: Harvesting
Most cucumber varieties are ready for harvest 50-70 days after planting. Harvest cucumbers when they reach their mature size, typically 6-8 inches long for slicing varieties and 3-4 inches long for pickling varieties. Use a sharp knife or scissors to cut the cucumbers from the vine, taking care not to damage the plant.
By following these steps, you can successfully grow cucumbers in soil bags, regardless of your gardening experience or available space. With proper care and attention, you’ll soon be enjoying a plentiful harvest of crisp, fresh cucumbers straight from your own garden.
Add comment