

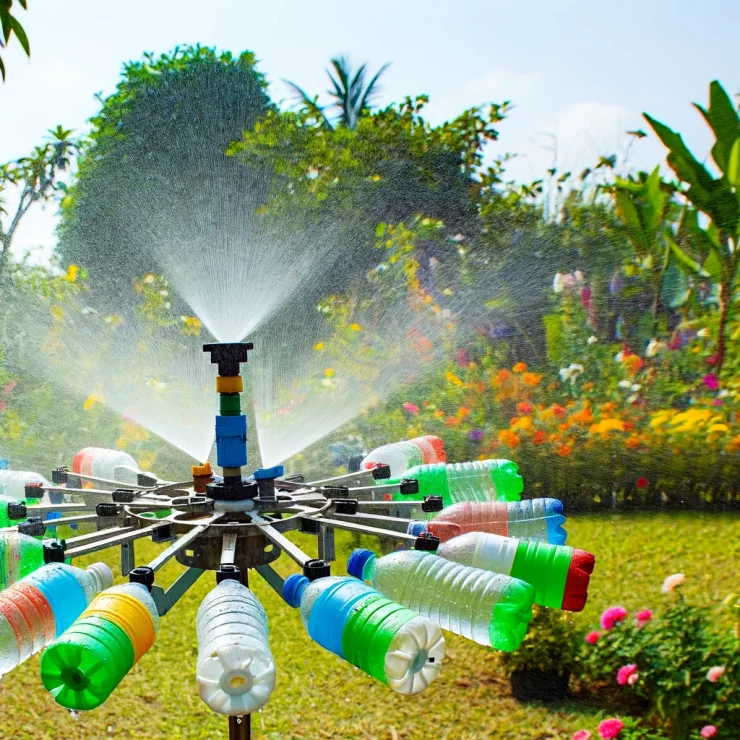
In regions where water scarcity is a pressing issue, innovative solutions are needed to ensure efficient and sustainable irrigation practices. One such solution involves repurposing plastic bottles to create a rotating irrigation system that is not only cost-effective but also environmentally friendly. With just 10 cents worth of materials per unit, this DIY project offers a practical and accessible way to optimize water distribution in gardens, farms, and other agricultural settings.
Materials Needed:
Plastic Bottles (preferably 1- or 2-liter bottles)
Scissors or Knife
Hose or PVC Pipe
Drill or Sharp Object
Sand or Gravel (optional)
Tape (optional)
Step 1: Prepare the Plastic Bottles
Start by gathering used plastic bottles of the same size. Remove the labels and clean them thoroughly to ensure they are free from any residue or contaminants. Once cleaned, allow the bottles to dry completely.
Step 2: Cut the Bottles
Using scissors or a knife, carefully cut the bottom off each plastic bottle. This will create a funnel-like shape with an open end. Ensure that the cut is smooth and even to facilitate the flow of water.
Step 3: Create the Irrigation Base
Next, determine the layout of your irrigation system and mark the positions where you want to place the bottles. If you’re using a hose, attach it to a water source such as a faucet or a rainwater tank. If using PVC pipe, ensure it is connected to the main water supply.
Step 4: Make Holes in the Bottles
Using a drill or a sharp object such as a nail, puncture several small holes around the sides of each bottle. These holes will allow water to escape and irrigate the surrounding area. Make sure the holes are evenly spaced and sized to regulate the water flow effectively.
Step 5: Install the Bottles
Place the cut bottles upside down into the ground at the marked positions. If the soil is loose, you may need to stabilize the bottles by filling them with sand or gravel. Alternatively, use tape to secure the bottles to stakes or supports.
Step 6: Test the System
Turn on the water supply and observe the flow of water from the bottles. Adjust the water pressure as needed to achieve the desired irrigation coverage. The rotating action of the bottles will distribute water evenly over a wide area, promoting healthy plant growth while conserving water.
Step 7: Maintain and Monitor
Regularly inspect the irrigation system to ensure proper functioning. Clear any debris that may clog the holes and replace damaged or worn-out bottles as necessary. Monitor soil moisture levels to avoid overwatering or underwatering, adjusting the frequency and duration of irrigation accordingly.
With just a few simple steps and minimal investment, you can create a rotating irrigation system using plastic bottles that effectively distributes water to your plants. By harnessing the power of recycled materials, this DIY solution not only addresses water scarcity but also promotes sustainability in agriculture. So gather your plastic bottles, roll up your sleeves, and start irrigating your garden for just 10 cents per unit!
Add comment