

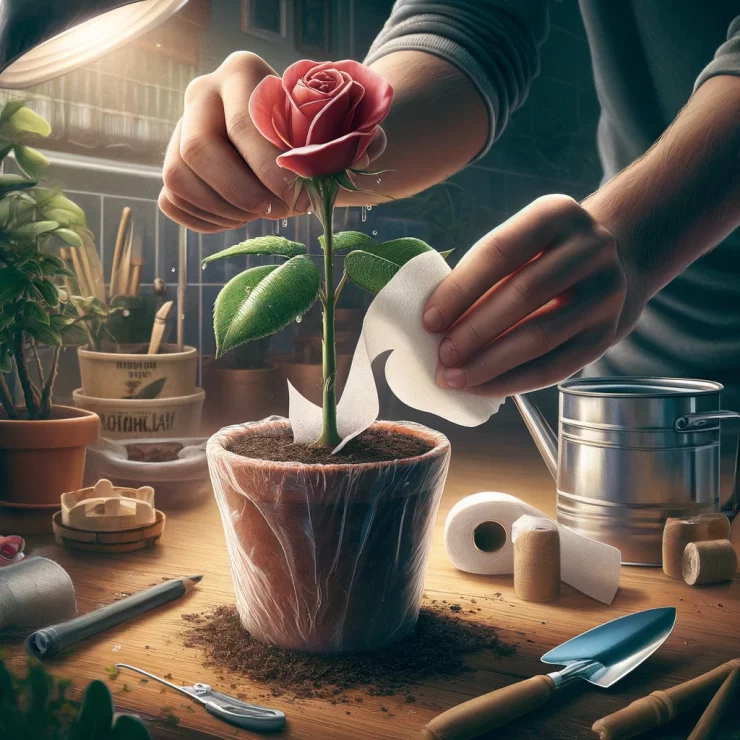
Propagating roses using toilet paper is a simple and surprisingly effective method for gardeners looking to expand their rose collection without the need for complex equipment or resources. This article will guide you through the step-by-step process to successfully propagate your favorite roses using just toilet paper and a few other basic supplies.
Materials Needed:
Toilet paper
Plastic wrap
Healthy rose cuttings
A sharp knife or garden shears
Rooting hormone (optional)
A container or pot
Potting soil
Step 1: Prepare Your Rose Cuttings
Choose a healthy rose bush from which to take cuttings. Early morning is the best time for cutting as the plant is fully hydrated. Using sharp shears or a knife, cut a 6-8 inch piece from the end of a non-flowering stem. Make sure the cutting has at least three sets of leaves at the top.
Step 2: Prepare the Cutting
Remove the leaves from the bottom half of the cutting to expose the nodes (where leaves were attached). These nodes are where the roots will develop. If available, dip the end of the cutting into rooting hormone to increase the chances of successful rooting.
Step 3: Wrap with Toilet Paper
Take a strip of toilet paper and moisten it slightly with water. Wrap the moist toilet paper around the bottom end of the cutting, covering the area where you removed the leaves. Ensure that the toilet paper is not dripping wet but just damp enough to encourage moisture retention.
Step 4: Encase in Plastic Wrap
After wrapping with toilet paper, cover the toilet paper with plastic wrap. This creates a miniature greenhouse effect, maintaining humidity around the cutting, which is crucial for root development. Secure the plastic wrap but allow some air circulation to prevent mold growth.
Step 5: Plant the Cutting
Prepare a container or pot with well-draining potting soil. Make a small hole in the center of the soil and gently insert the wrapped end of the cutting into the soil. Ensure that the toilet paper is completely buried to facilitate root contact with the soil.
Step 6: Create a Humid Environment
Cover the entire pot with a plastic bag or place it in a mini greenhouse to maintain high humidity levels around the cutting. This simulates a humid, greenhouse-like environment conducive to rooting.
Step 7: Position in Indirect Light
Place the pot in a location that receives indirect sunlight. Direct sunlight can overheat and damage the cutting. The ideal location is bright but shielded from the direct sun, such as a windowsill with filtered light.
Step 8: Monitor and Wait
Keep the soil moist but not waterlogged. Check the moisture level regularly and water lightly as needed. After about 4-6 weeks, gently tug on the cutting. Resistance indicates that roots have developed. At this point, you can remove the plastic wraps and gradually acclimate the new plant to less humid conditions.
Step 9: Transplant
Once the rose cutting has established a healthy root system, transplant it into a larger pot or directly into your garden. Continue to care for it as you would any young rose plant, ensuring it receives adequate water, nutrients, and sunlight.
This method of propagating roses with toilet paper is not only cost-effective but also an intriguing way to multiply your rose garden. It’s a perfect project for both novice and experienced gardeners to enjoy the beauty of roses without a significant investment.
Add comment