When faced with a survival situation, access to clean drinking water is often the difference between life and death. Whether you’re hiking, camping, or caught in an unexpected emergency, knowing how to make a DIY survival water filter can save your life. With just a few basic materials, you can filter out dirt, debris, and some harmful microorganisms, turning dirty water into drinkable water.
Water found in nature—streams, ponds, rain puddles—may look clear, but it often contains bacteria, parasites, and contaminants that can make you very sick. Boiling water is the safest method, but if fire or heat isn’t available, a survival filter can at least make water safer until you can purify it further.
Materials You’ll Need
You can create a simple water filter using common items you may already have:
A plastic bottle (or any container you can cut and shape)
Cloth or coffee filter (for the base layer)
Sand (fine layer to trap dirt and particles)
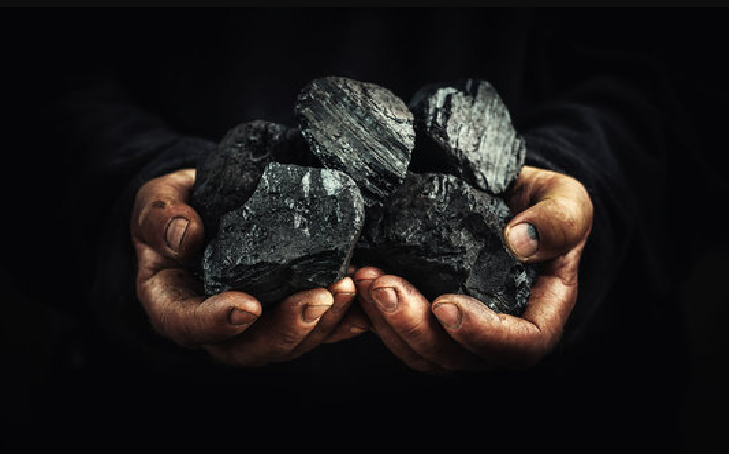
Charcoal (activated charcoal is best, but campfire charcoal works too)
Small pebbles or gravel (to catch larger debris)
A container to catch the filtered water
Step-by-Step Instructions
Prepare the Bottle
Cut the bottom off a plastic bottle and turn it upside down, so the cap is facing down. If the cap is still on, poke a small hole to allow water to drip slowly.
First Layer – Cloth or Coffee Filter
Place a piece of clean cloth, bandana, or coffee filter at the bottom. This prevents the finer materials from falling out.
Second Layer – Charcoal
Add a thick layer of crushed charcoal. This is crucial because charcoal helps remove toxins, odors, and some bacteria.
Third Layer – Sand
Pour in a layer of sand to trap smaller particles and sediment.
Fourth Layer – Gravel or Pebbles
Add small rocks or pebbles to catch larger debris such as leaves or twigs.
Pour and Collect
Slowly pour dirty water into the top and let it drip through each layer. The water that comes out should look clearer and be free of large contaminants.
Important Note on Safety
While this DIY filter improves water quality, it does not guarantee complete removal of viruses and bacteria. For maximum safety:
Boil the filtered water for at least 1–3 minutes.
Or use water purification tablets if available.
Benefits of a DIY Water Filter
Portable and lightweight – you can make it anywhere.
Cheap or free – uses natural and everyday materials.
Life-saving – helps prevent dehydration when clean water isn’t available.
A DIY survival water filter is an essential skill for outdoor adventurers and anyone preparing for emergencies. By using sand, charcoal, and gravel, you can turn dirty water into a safer option for drinking—potentially saving your life in a crisis.


Add comment