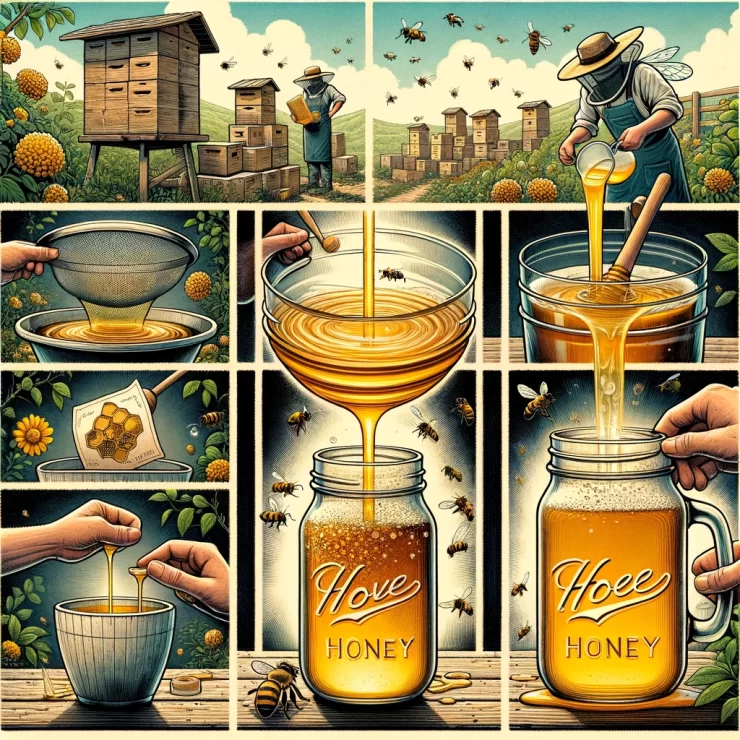
Mason jars have become a versatile and trendy container for various uses, from preserving fruits and vegetables to creating beautiful home decor. If you’re a honey enthusiast or a beekeeper looking for an innovative way to store and showcase your honey, then building a Mason jar honey dispenser is a fantastic project to embark on. In this comprehensive guide, we will take you through the steps to create a functional and aesthetically pleasing Mason jar honey dispenser that will not only serve as a storage solution but also add a touch of rustic charm to your kitchen or dining area.
Materials You’ll Need:
Before you get started, gather the following materials:
Mason jar with a lid: Choose a size that suits your honey storage needs.
A honey gate valve: This is a crucial component that allows for easy honey dispensing.
A wooden board: To create the base and handle for your dispenser.
Screws and screwdriver: For assembling the wooden components.
A drill and a hole saw bit: To create holes for the honey gate valve and handle.
Sandpaper: For smoothing and finishing the wooden parts.
Wood stain or paint: To enhance the appearance and protect the wood.
A measuring tape and a pencil: For accurate measurements and markings.
Step-by-Step Instructions:
Now, let’s walk through the process of building your Mason jar honey dispenser:
Measure and Cut the Wooden Board:
Begin by measuring and cutting the wooden board to create the base of your honey dispenser. The size should be slightly larger than the Mason jar’s diameter to provide stability. Sand the edges to ensure a smooth finish.
Attach the Honey Gate Valve:
Mark the location for the honey gate valve on the wooden base, making sure it is centered. Use a hole saw bit to create a hole that matches the valve’s size. Carefully secure the honey gate valve in place using screws.
Create a Handle:
Measure and mark the location for the handle on the wooden board. This should be on the opposite side of the honey gate valve. Use the hole saw bit to create a hole for the handle, ensuring it is large enough to comfortably grip. Attach the handle with screws.
Stain or Paint the Wooden Components:
To protect the wood and enhance its appearance, you can apply a wood stain or paint of your choice. Allow it to dry completely before proceeding.
Assemble the Mason Jar Honey Dispenser:
Place your Mason jar on the wooden base, ensuring that the honey gate valve aligns with the jar’s opening. Screw the Mason jar lid onto the base, securing it in place.
Fill and Enjoy:
Fill your Mason jar with honey through the top opening. When you’re ready to dispense honey, simply turn the honey gate valve handle to release the sweet nectar. It’s a convenient and visually appealing way to serve honey.
Building a Mason jar honey dispenser is a delightful DIY project that not only serves a practical purpose but also adds a charming touch to your kitchen or dining area. With just a few simple materials and a bit of creativity, you can create a unique honey dispenser that showcases your love for honey and craftsmanship. Enjoy the sweet rewards of your homemade honey dispenser and share the joy of honey with family and friends!


Add comment